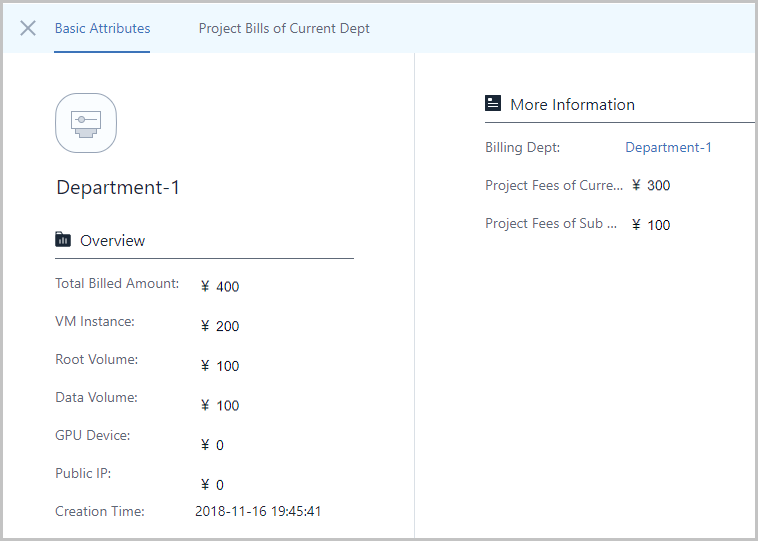
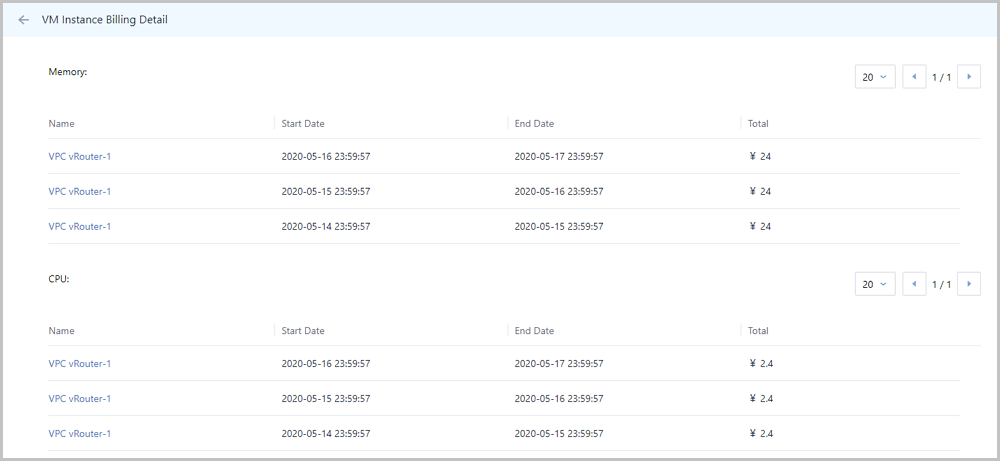
Bills of different resources under different projects, departments, and accounts are calculated and displayed in real time based on the unit price and time of usage defined in a pricing list. The time is accurate to seconds.

 Note: Note: Note:
 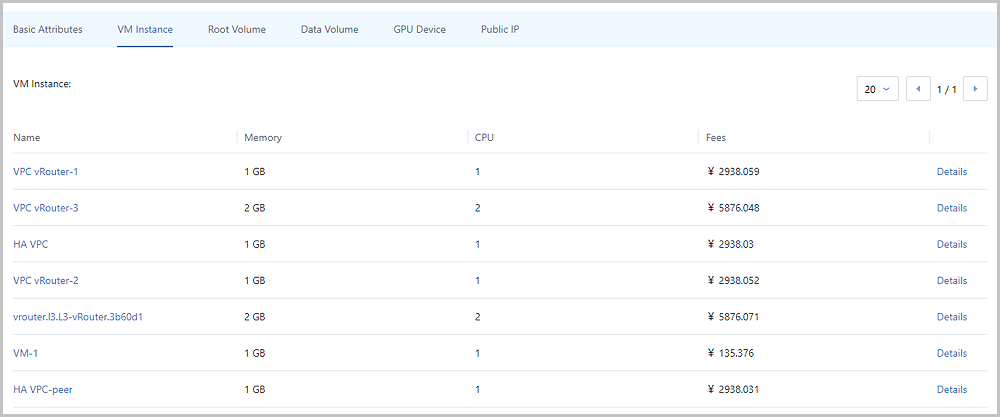 Note:
Note: Go to , locate The time point of billing generation, and click the Edit icon. Default value: 0.
 Note:
Note: 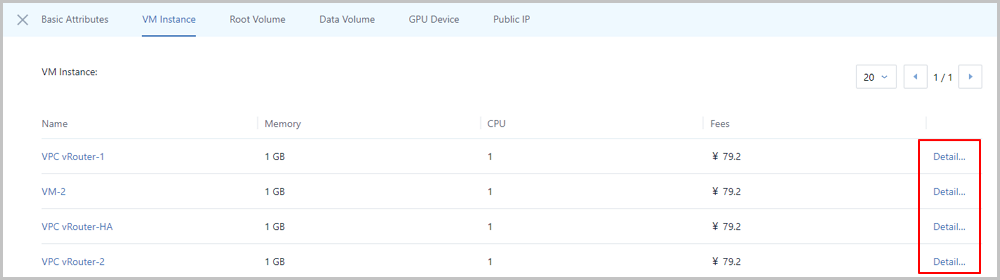
 Note:
Note: Go to , locate The time point of billing generation, and click the Edit icon. Default value: 0.
If you turn off the Switch for Billing in global settings, the Cloud will stop billing the resources, and no new bills will be generated.
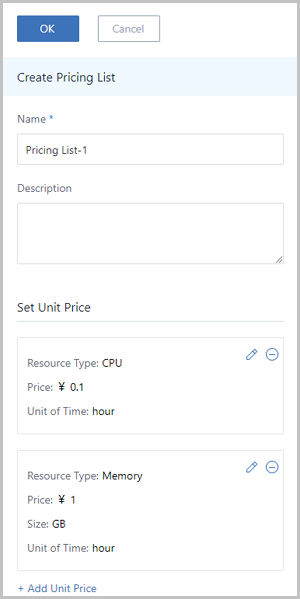
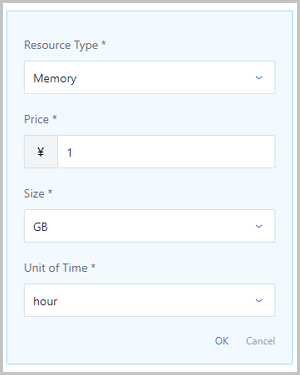
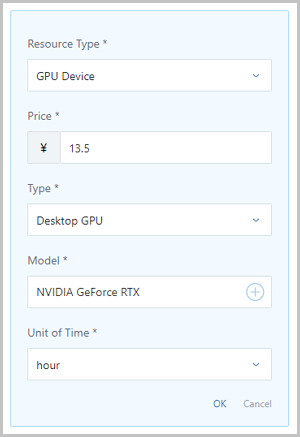
Pricing list, also known as price table, defines the unit price of different resources based on the resource specification and time of usage. After you attach a pricing list to a project or an account, the corresponding bills of resources will be generated accordingly.
To use the pricing list feature, go to , locate Switch for Billing, and set the value to true.


{ "priceUserConfig": { "priceKeyName": "Enter the value of priceKeyName in the advanced parameters of the corresponding instance offering." } }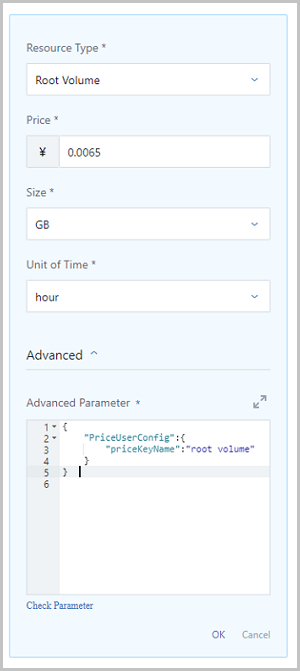
{ "priceUserConfig": { "priceKeyName": "Enter the value of priceKeyName in the advanced parameters of the corresponding disk offering." } }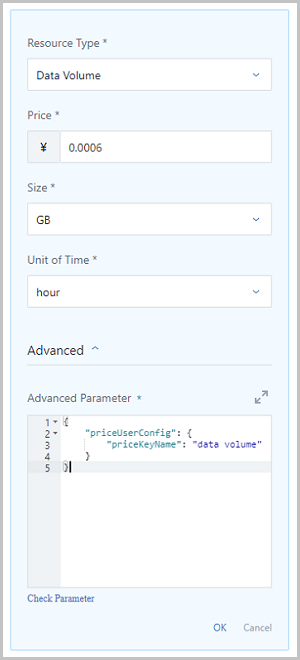
 Note: Public IP addresses are billed in bandwidth. When you set the unit price for public IP addresses, note that:Note: The upstream bandwidth and the downstream bandwidth can be billed separately. However, the upstream bandwidth and the downstream bandwidth cannot be left unspecified at the same time.
 Note: When you delete pricing lists, note that:Note: A pricing list can be attached to more than one project or account, while the same project or account must have only one pricing list attached.Note: When you delete a pricing history, note that:
Go to , locate Billing currency symbol, and click the Edit icon. Options: RMB (¥) | USD ($) | EUR (€) | GBP (£) | AUD (A$) | HKD (HK$) | JPY (¥) | CHF | CAD (C$).
© 2023, Shanghai Yunzhou Information and Technology Ltd (云轴科技). All Rights Reserved.
Back to Top
Email Us
contact@zstack.ioEmail Us
contact@zstack.ioEmail Us
contact@zstack.ioThe download link is sent to your email address.
If you don't see it, check your spam folder, subscription folder, or AD folder. After receiving the email, click the URL to download the documentation.Thank you for using ZStack products and services.
Submit successfully.
We'll connect soon.Thank you for using ZStack products and services.